The more I learn about anatomy, the more I wonder how we ever taught yoga classes without bringing in the essentials of alignment and movement into class. There are so many benefits to teaching the anatomy that go along with the postures and sometimes students will say to me after class, “I’ve done those poses before, but for some reason, today they were so much harder!” I think that can happen when you slow things down and teach from an anatomical perspective.
It’s always a balance, though, and I’ve written before about the dangers of teaching only from the anatomy and being obsessive about the details. Maybe “danger” is the too strong a word, but I will say that there are times that I go a bit overboard with the instruction and then spend the rest of the class giving them a bit more space to just “be.”
Having said that, one specific anatomical theme I like to focus on has to do with the hips. Many people come to yoga thinking they have tight hips and in many cases, this is true. But the piece that is often left out is that “tight” hips could mean tight in the front, as in flexion or tight when you turn your knees out to the side, as in external rotation. Let’s talk today about tight hip flexors.
This is a good universal theme because given how much we sit, many of us have tight hip flexors. There are quite a few muscles that flex the hip and just to be sure we’re all on the same page, flexion of the hip is drawing the thigh up closer to the body. Think of it as the position you’re in when you sit, or run, or bike or drive in the car. We do many of these things a great deal and these muscles get tight from constantly being in a shortened or contracted position.
Two muscles that flex the hip are the psoas, which starts at the lower back (specifically the 1st through 5th lumbar vertebrae) and ends on the upper thigh (specifically the lessor trochanter of the femur) and the rectus femoris (part of the 4-muscle group called the quadriceps femoris) that starts on the pelvis, near the outside of the hip joint and runs down the front of the thigh and inserts at the base of the patella.
Here are two views, from Wikipedia:
http://en.wikipedia.org/wiki/Psoas_major_muscle
http://en.wikipedia.org/wiki/Rectus_femoris_muscle
When we extend the hip, we stretch these two muscles. This action of extending the hip shows up in many poses and often when one hip is in extension, the other is in flexion. You see this in Warrior 1, for instance:

Here, the back, straight leg is the hip in extension but the front hip is in flexion. Then of course, when you do it on the other side, the other hip is in extension or stretched and the opposite one is in flexion.
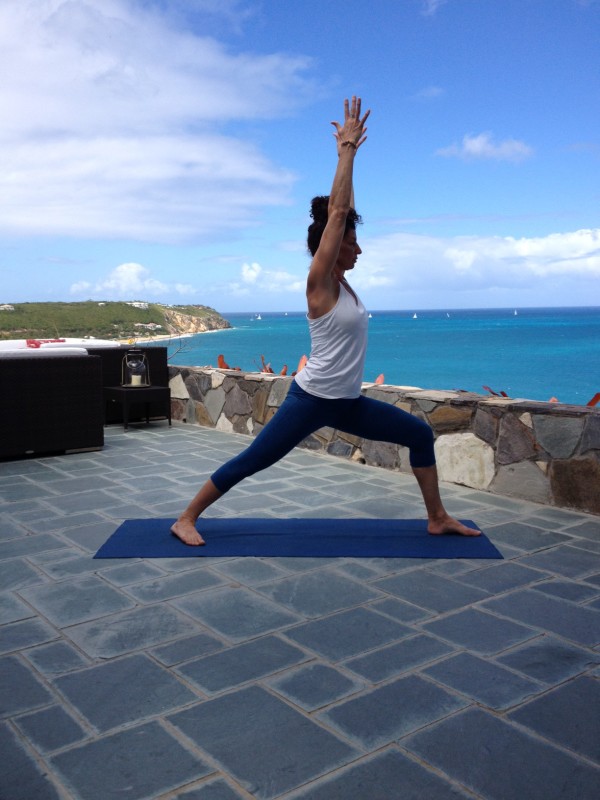
You see this also in Airplane, Warrior 2, Triangle, Low Lunges and Crescent Lunge. So, this is all great but what would prevent you from stretching your hips in this pose?
Hyperextension of the tailbone would prevent you front stretching these two muscles. This action gets in the way of hip extension because in order to stretch these two muscles, the top edge of your pelvis needs to be level.
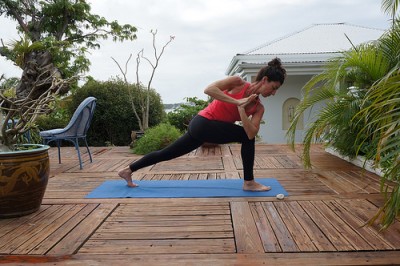
If you look at me in the picture above, I have a mild case of tailbone hyperextension happening here. You can tell because if you imagine I was wearing a belt around my hips, the belt buckle should face directly forward, not down. You can see in my hips that the top edge is tipped slightly downward. This also can be described as when the belly button points more downward versus straight ahead.
As the front rim of the pelvis starts to drop downward (a.k.a “anterior tilt”) the very end of the spine, or tailbone, will stick out. As it turns out, this interferes with getting a good stretch of these two muscles. But the challenge for many students is that because their hip flexors are tight, when they come into a pose like Warrior 1, they move into hyperextension. So, what’s the corrective action to share?
Lifting the front edge of the pelvis is a great correction to share. It means the student needs to engage their core, specifically the long abdominal muscle that runs up the front of the body, called the rectus abdominus, and LIFT the front edge of the pelvis so their belly button faces directly forward. I like to start people out in Crescent Lunge versus Warrior 1 or 2 because in this pose, the back heel is up and it’s a lot earlier to lift the front edge of the pelvis. It’s much harder to do this in a “locked” pose, or one where the feet are both down.
When you start to teach this correction and start to look for it in students, they may really feel a stretch through their hip flexors that they have never felt before. This is because when you’re in tailbone hyperextension, you tend to just “sit” in your lower back and avoid stretching these muscles. If you’re there to stretch them, you might as well take the correct action, right?!
This is one of those things that with a little education and study as a yoga teacher, you can share something really helpful with your students. They will use this correction in every yoga class they take and will leave your class with a much better understanding of what it means to stretch their hips, both on and off the mat.
